Do you struggle to achieve the perfect looking stained glass piece? No matter if you are a beginner or a re-starter, in this post I reveal my top 6 stained glass mistakes, and show you how can you solve them in minutes.
Why is it important to be as accurate as possible? A lot of these mistakes can make your stained glass piece look worse. By the way, my name is Lydia and on this blog I seek to educate and discuss topics about stained glass, glass art and creativity. If that sounds good to you then subscribe!
1. STAINED GLASS SAFETY
First up is safety. You guys, this one is a bad habit and a dangerous one as well. So it means that you avoid wearing proper safety gear. Stained glass has a few steps and depending on the given step, you might want to adjust what are the safest equipments. I don’t mean to scare away anyone, especially those who just want to start this beautiful craft.
If you follow all the good practices, there is a very little chance that you suffer a serious injury. But, better safe than sorry. You’re going to work with sharp glass, hot soldering iron, and you can inhale fumes from the chemical agents, you name it. And I’ve seen so many videos and posts on social media, where they share a cool how it’s made video. By the way, I love watching these, they are so inspiring.
But, I spot glowless little hands 80 percent of the time. Even professionals make this mistake, and I’m gonna be honest, it happened to me before as well.
For example, I want to check out a sheet of glass quickly, and I forgot to throw on my gloves. It might seem like the edge of the glass is completely smooth, but you never know, small imperfections are almost invisible. And in my experience, scratches and other possible accidents happen when we are in a rush. So please be safe, protect your pretty eyes and hands by wearing safety glasses and gloves at all times when practicing stained glass.

2. CUTTING PRECISION
Next up is cutting precision! Why on earth only cutting precision matters, you might ask. And it’s true that you have to be as accurate as you can be in each step for the best results. I like to imagine the stained glass steps together like a giant pyramid. The cutting is on the bottom. This is literally the base for all the other steps. If you mess up here, it will make the whole process a lot harder and longer.

For example, you left a lot of excess glass compared to the guide pattern. Then you need to grind off all of this excess. How can you improve cutting precision? For beginners, I always recommend to practice on clear glass, it’s the most easy to cut. Start with straight or lightly curved lines and use steady pressure.

If you’re a bit more advanced already and still feel like there is room for progress, my best tip is to try out different cutters. Your hands can get tired during cutting, or you might simply find a different grip style more comfortable. Cutter quality is also important, using old or bad quality tools will sabotage your success.
My favorite cutter currently is the Toyo Pistol Grip Cutter. It’s super comfy and great for beginners as well. But there are pencil, saddle and adjustable grip handle styles on the market as well. Check out which one works best for you.
3. GRINDING ALL GLASS EDGES
Alright guys, the third mistake is pretty easy to fix. Mistake number three is not grinding all edges, even the seemingly straight ones. I want to show the difference on these pieces in the picture below. You can see the ungrinded edges are shiny:

Even if you executed the most perfect cut, it’s nothing to do with that. After grinding, the edge became dull and mat. So the goal is to remove all the shininess and simply go over every edge with the grinder. Foil will stick better to the mat edges and you won’t accidentally cut yourself with unexpected glass bumps while foiling.
4. FIXING FOIL MISTAKES
Next up, fixing foil mistakes. Picture this, you just foiled every little piece of your project and you pat your back and continue with the next step, which is soldering. When all of a sudden the soldering lines are not lining correctly. There are gaps and mistakes where no matter how much flux you apply, solder doesn’t seem to flow.

That’s right, glass and solder doesn’t stick together on its own. We need something what bonds them, and that’s going to be the copper foil. If you’re not fixing foiling mistakes, especially when you have a lot of them, it will ruin the finished look. The solution is to grab a hobby knife and some extra foil after you finished foiling.
Fix every split, uneven or overlapping foil with adding more foil or cut off the excess. Repeat this process for all of your pieces until they are all covered in shiny and even copper foil. And you’re good to go!
💎 STAINED GLASS KICKSTART KIT
By the way, if you’re interested in learning more about the craft, check out my free Stained Glass Kickstart Kit here. Just click on the link or the picture below, fill out the form, and it will be delivered straight to your inbox.

This guide is perfect for beginners, restarters, and those who attended a stained glass class but want further guidance at home. It’s a fun Kickstart Kit what really helps you get you going!
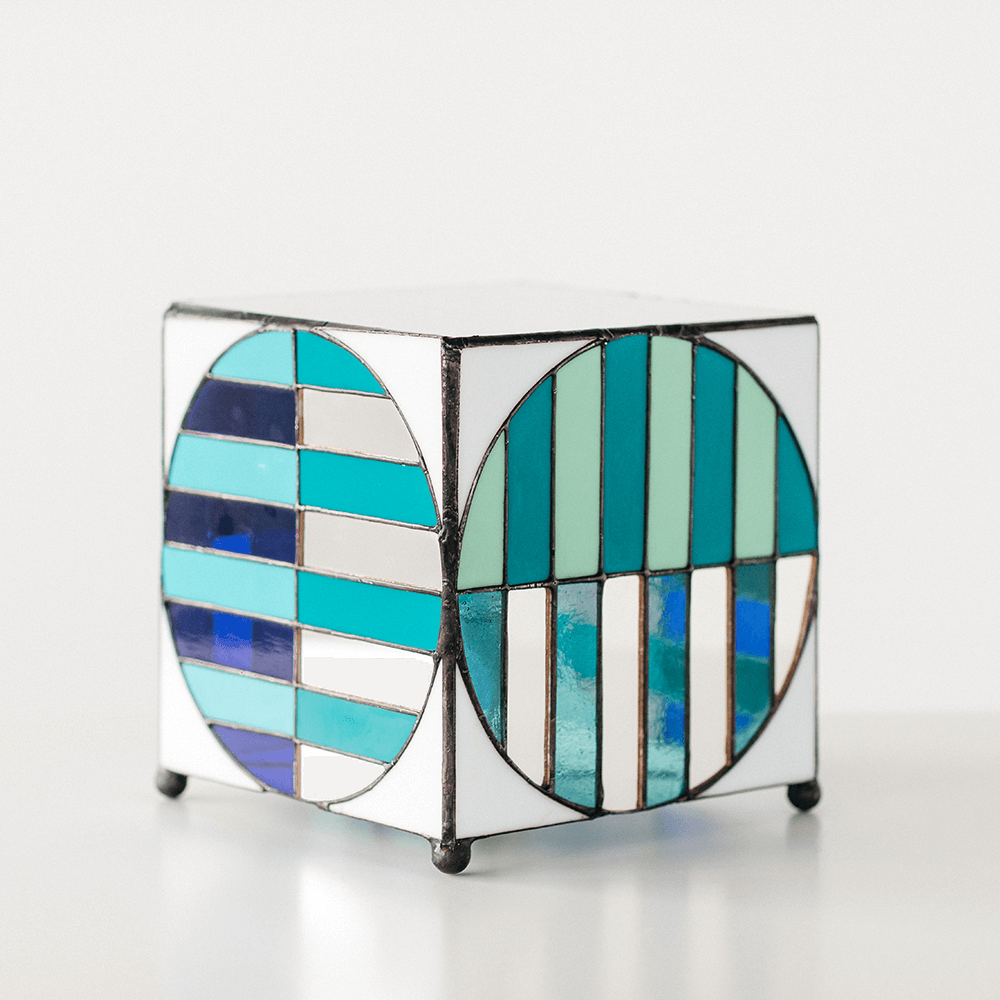
5. EDGES
What’s all the fuff about the edges? Let me add some context here. You will need to solder the front and the backside of your project. Nothing else left, just the edges. And maybe to add a few loops if it’s a hanging piece. This mistake is a personal one for me. For the longest time, I didn’t do anything to strengthen the edges, just tinned them. Tinning means cover the edges with a thin layer of solder
Somehow I found it more aesthetically pleasing that way, but soon I realized that leaving out this step will reduce the longevity of the piece as well as makes it look a bit unfinished. You can choose from two methods in terms of edges. You can use frames, aka lead cames, or simply beading the edge.
Both have its pros and cons, but both will strengthen and protect the vulnerable edges by creating this ‘U’ shape around them. Lead cames are stronger and allow more structure. It’s great for bigger projects with a simple silhouette. Edge beading, great for pieces with complex silhouettes and also the method which not requires extra tools and supplies, so it’s very beginner friendly.

Beading the edge means that you add dabs of solder to the edge. You can even use copper wire if your edges are very irregular and it’s going to give a massive strenght to them.
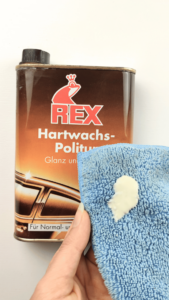
6. THE RIGHT POLISH
The final mistake is related to the finishing steps. Not using the right polish will make a huge difference, trust me. Depending on where you live, and what products you can access, you might need to experiment here a bit. I didn’t found stained glass finishing compound neither offline and online, so I started to look for car polishes with carnauba wax in them.
Car polish or wax can work completely fine, you just need to find the right one. Look for ones with thicker consistency. When applying, the polish should create a hazy white film after around 10 minutes. Without the right polish, the finished piece won’t be extra shiny and resistant to outer factors.
Alright guys, we made it through. Thank you so much for hanging, let me know if you found these mistakes relevant and I would love to know what you consider the biggest stainless mistakes. Seriously, send me a mailt about it, I’d love to hear your opinion about the topic.
If you prefer video format, you can watch the whole post here 🙂:
Lydia, xx