Weather you are just started to learn stained glass or you already have some exprerience in it, it is a crutial step to understand how to desing your own piece or choose the right pattern before you jump right into the execution part.
Why is it important to plan ahead? If you ever painted for example, you able to add color to your painting any time, change the shapes so you are more free to adjust along the way. While stained glass is a very creative artform but you need to know in advance how the whole ’glass puzzle’ will look like and fit together. That’s the reason we want to be prepared! This blog intented to help understanding how to choose the matching pattern to your level, so you are going to enjoy creating your art. Secure the bases and then add up the difficulty, thus you will save time, materials and even motivation!
#1 Number one: select the right size.
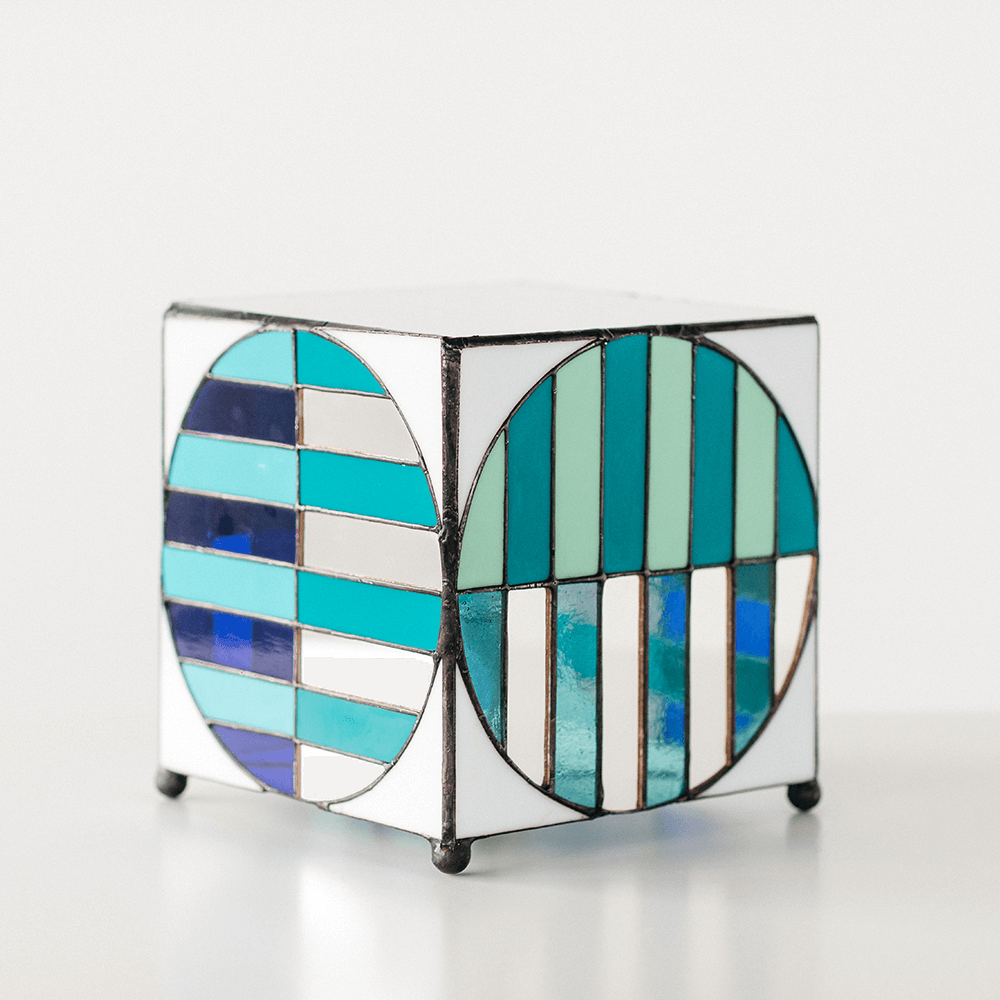
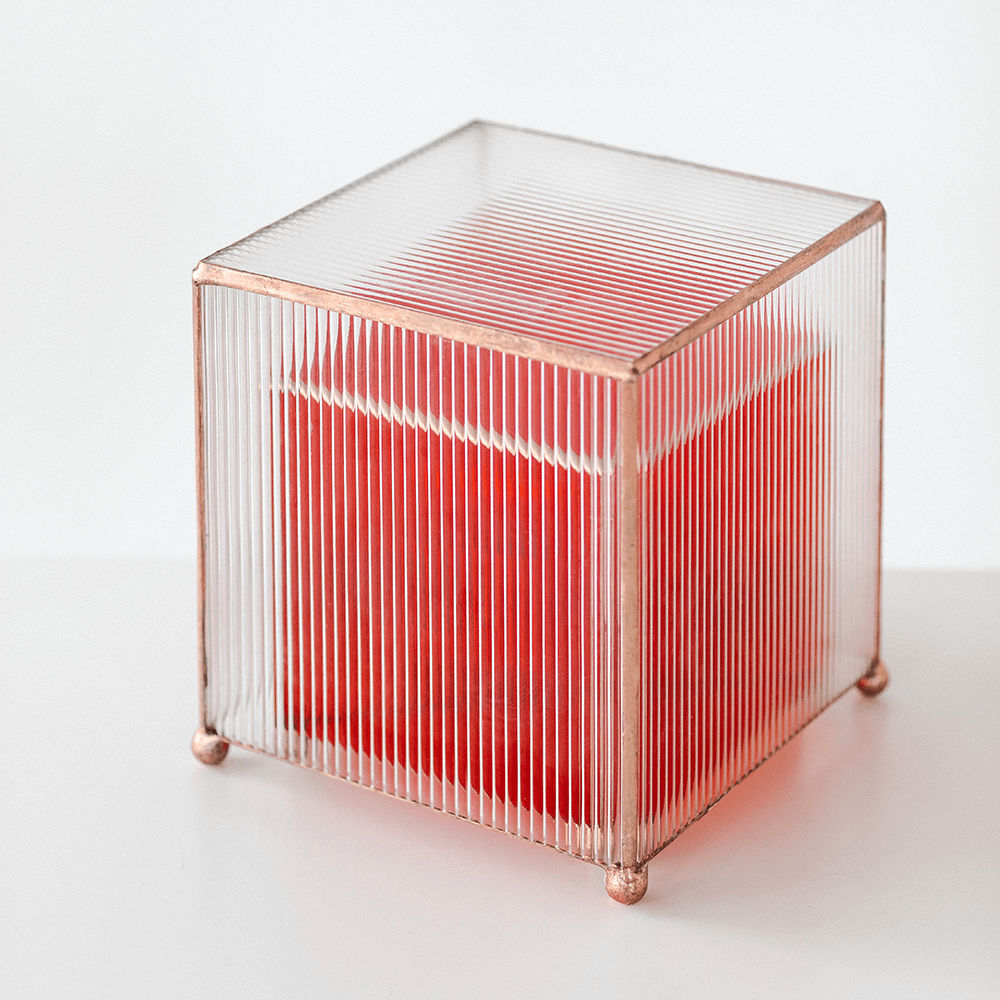
The copper foil method is best suitable for decorative pieces in 2 and 3D. You can create suncatchers, indoor displays, window and door panels, but even lamps and boxes.
The techniqe is quiet rigid, meaning it’s naturally has physical limitation to it in terms of size. The maximum measurements are about a few meters lenght and width and these bigger pieces very often reinforced with some kind of framework e.g metal or wooden frames. The minimum measurements to one little piece of glass can be even a few milimeters.
Tiffany’s strengh lie in creating finely detailed artwork, using even very small fragments and complex lines which makes endless possibilities for us to play with.
Just a quick note: Don’t forget that the big church windows are made with a different technique and can be also referred as stained glass, but using so called lead canes as binding. The lead canes provide the flexibilty and the stability at the same time what you need in these bigger proportions. I love that term that the copper foil method is the little sister of the leaded cane method, as it’s historicly evolved from that.
So then what are the ideal measurements as a beginner?
When you choose your first project we we would like to avoid the extremes: I do not recommend going too big. The process is more enjoyable and easier when you already have some experience and then moving towards to the greater and more complex creations. This also goes to handling very detailed artworks containing small glass pieces in it, it just generally more difficult to handle the tiny fragments.
Ideally I recommend a pattern around an A5 to A4 sized paper. It will be easy to work with these measurements and it is more handy as you do not need a huge space to reserve in your workstation.
But we not only have dimension, what brings us to the next part:
#2 Set the difficulty!
I collected four factors which affect the difficulty of your work. I wanted to highlight these for you to be aware but certainly not to be discoureged! Complex pieces need more love and precision, however an amazing way to add more variety and artistic touch to your projects!
- The first one is what I like to call piece density. I think this one is pretty evident: the same sheet of glass can be divided into two sections but can be devided into 50 different sections. So the more dense a project is the more individual pieces you will work with. Remember the puzzle methapfor: the more puzzle pieces you have the game gets more challenging. That’s why the classic Tiffany lamps are admired all over the word: the piece size and the density of the lamps are just simply insane!
- It’s good to keep in mind that different types of glass behave very differently! E.g Glasses with texture are usually trickier to work with. But I came across completely smooth surfaced glass which were more fragile, so I had to handle it carefully through the entire process. That’s why I always tell studentss to test out your sheet of glass before you start the actual work, this way you will get to know the material and know what to expect.
- The third point is concaves. Concave means that having an outline or surface that curves inwards. If you pack the pattern full of deep concave lines, let me tell you, you will grind a lot. We definitely don’t want that! I show you an expamle here: these kind of deep curves are hard cut out, I would rather grind there to achieve the shape and make sure I do not break my piece, which takes more time. However some special curves to add to your pattern look amazing, so worth the effort.
- Finally I wanted to mention collectively all the extra details you can spice your art up. If you browse on Instagram or Pinterest you can always come across super fun and creative ideas. I want to give you a few examples: you can layer the glass on each other, add wire detail, play with the soldering technique, paint on the glass and many many more. You can create a very unique style by combining your favourite details. Some of these techniques can be pretty easy to pick up, others might be more complicated, but remember always test out and see how it looks like and how it would fit a certain design.
Let me know how you plan ahead and what are some aspects you like to think trough before buying or creating a pattern? I would love to hear about your stories, see you around!